
With the rise of eTickets in the world of rail travel, it’s never been easier to hop on a train in the UK - and, since its introduction in 2012, it’s become even simpler with the ability to store train tickets in your Apple Wallet. If you have an iPhone, this means you can forget about handling or losing any paper tickets, and you have instant access to your ticket with a double click of the side button.
Great news - it’s no different with Trip.com! You can add all train tickets purchased via Trip.com to your Apple Wallet for a quick and easy train station experience, and it’s pretty easy to set up, too.
Here’s our brief guide on how to purchase and add a train ticket to your Apple Wallet:
NOTE: If you’ve already purchased your tickets, simply jump to Step 7!
Step-by-step guide to adding train tickets to your Apple Wallet
1. Open the Trip.com app or website

Begin by opening the Trip.com app on your iPhone. If you don’t have the app installed, you can download it from the App Store or simply click here! Alternatively, you can book your tickets on Desktop.
2. Access the train booking section
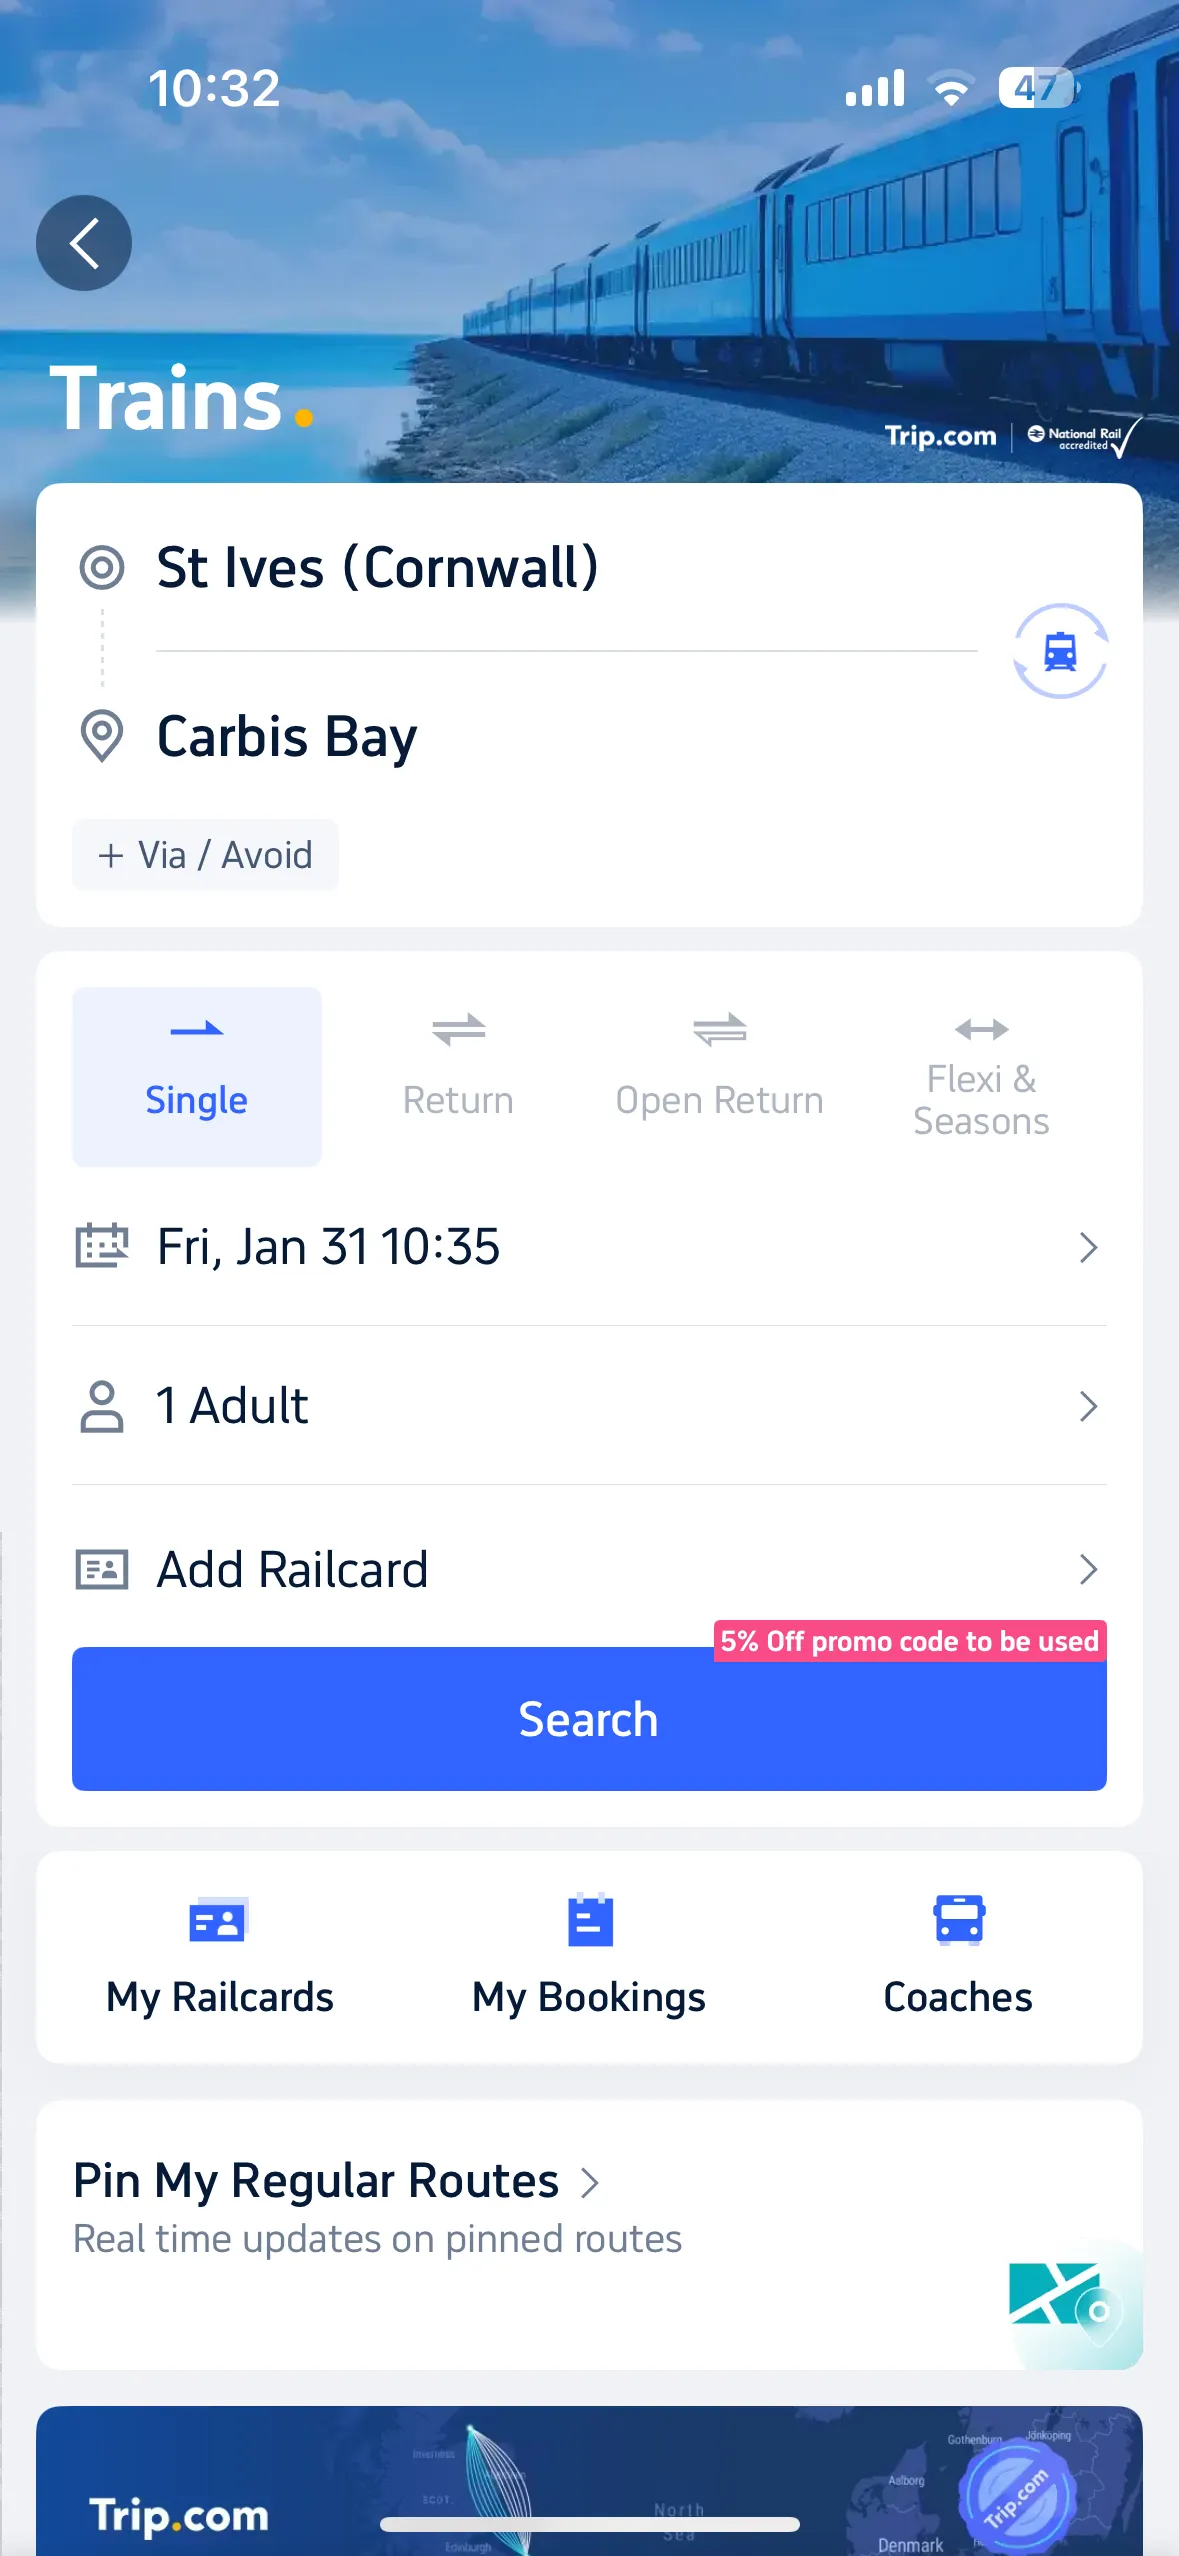
On the homepage, you’ll see an icon labelled “Trains.” Tap on this to access the train booking section.
3. Choose your trip details
Enter your departing and arrival stations.
Select your travel dates and the number of travellers.
Don’t forget to add a Railcard if you have one to unlock additional discounts! Find out more here.
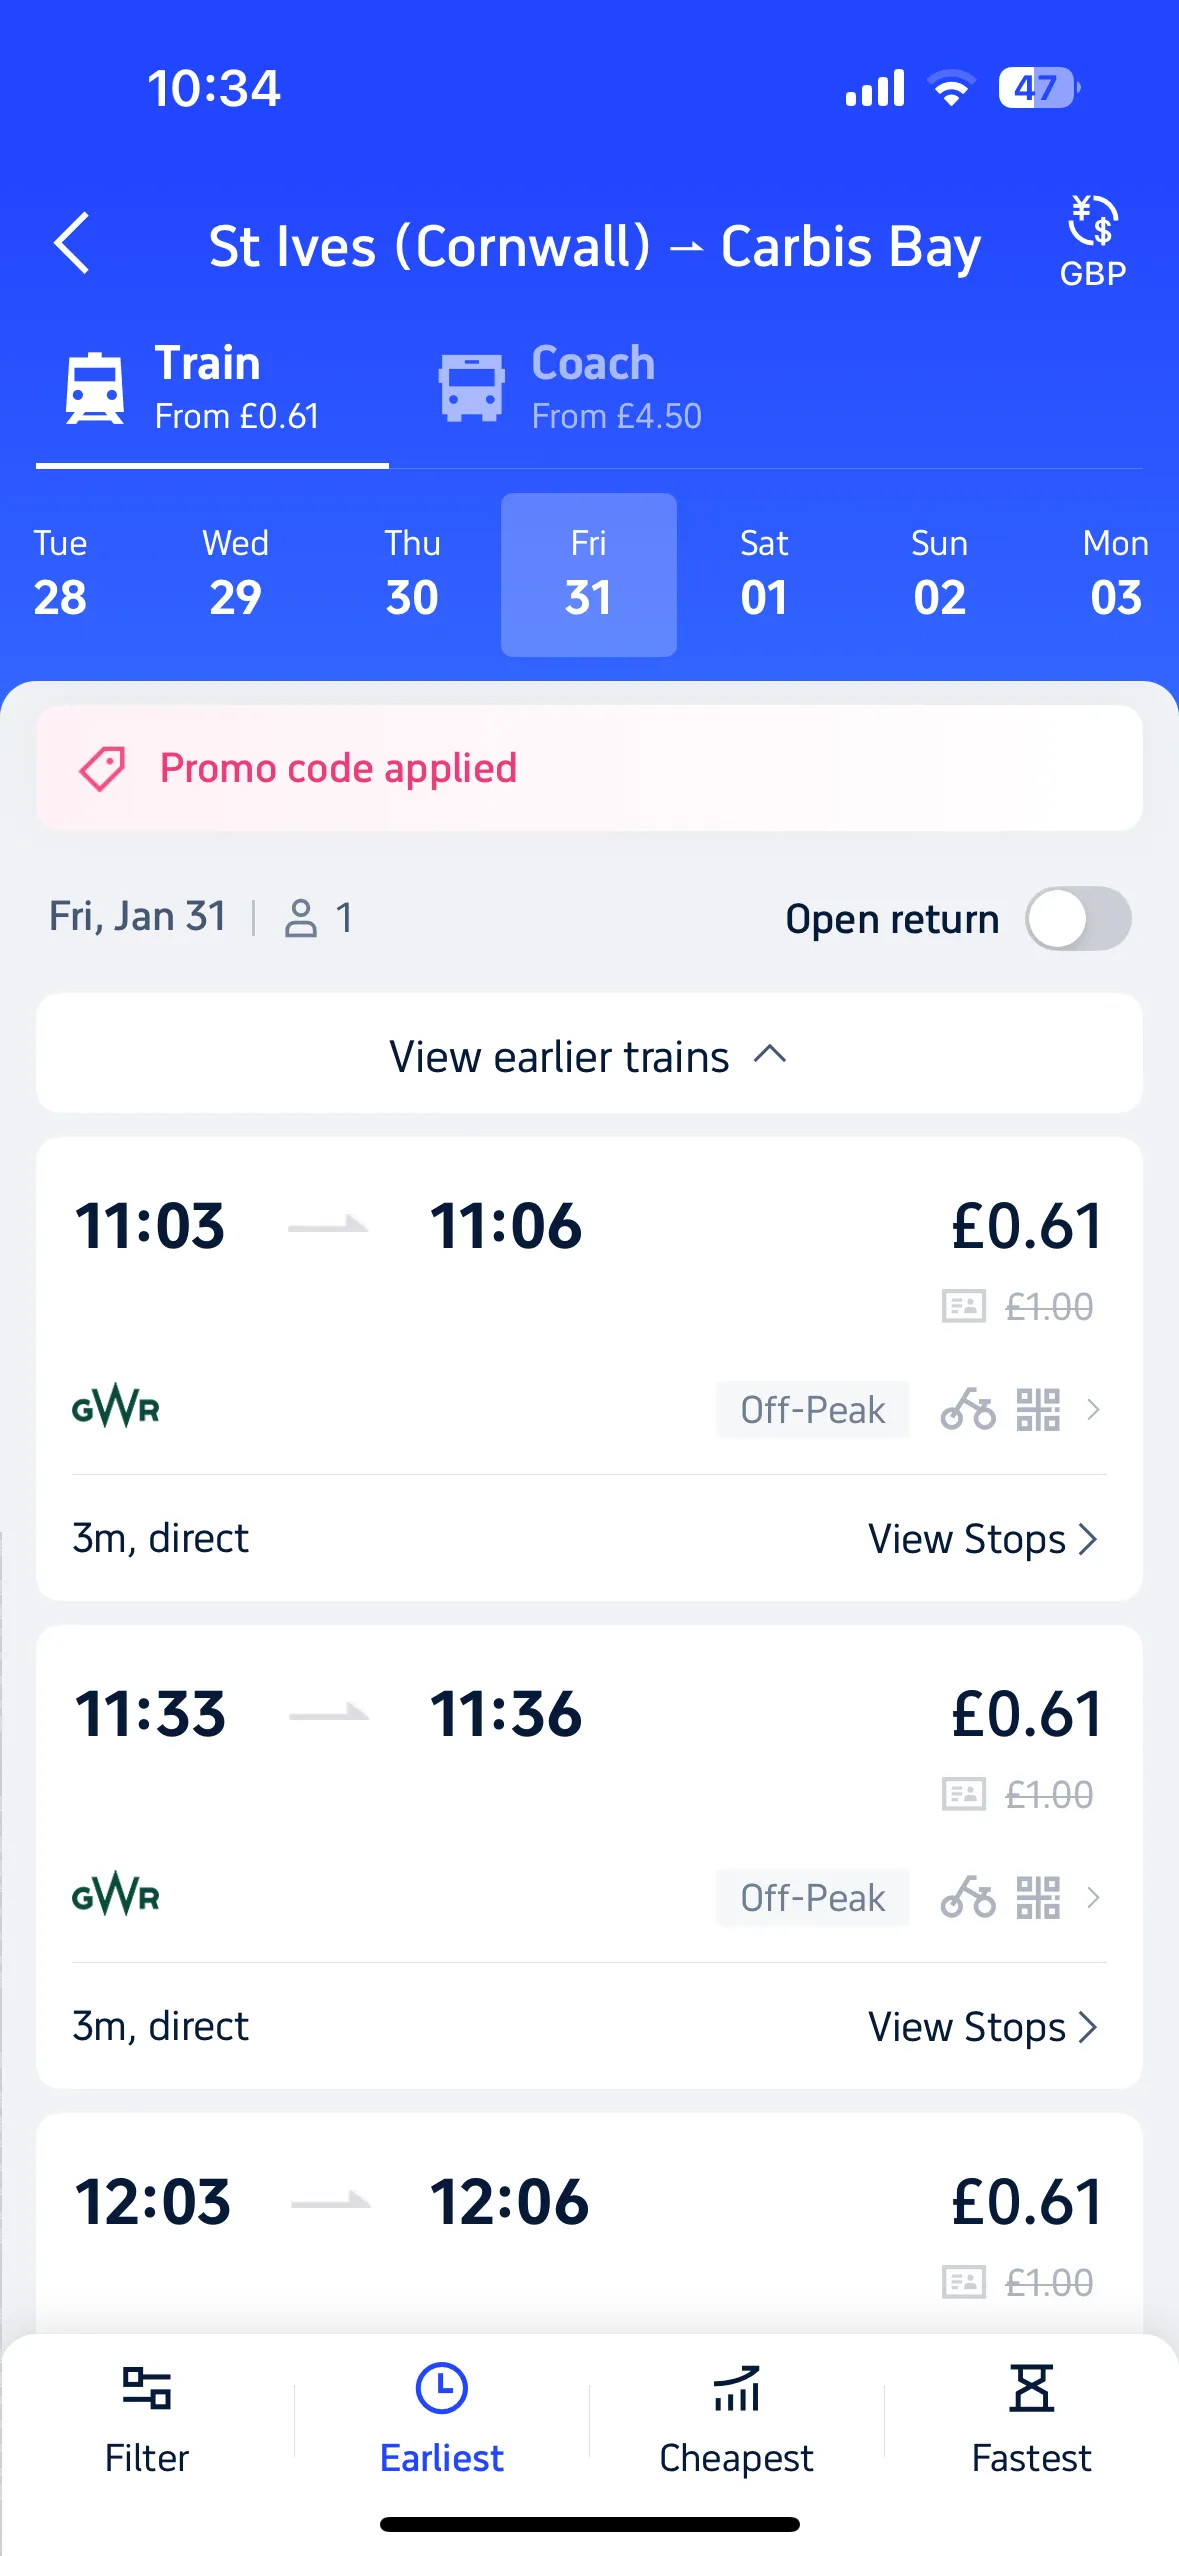
4. Select your journey
Browse the available options and pick the journey that best suits your schedule and preferences.
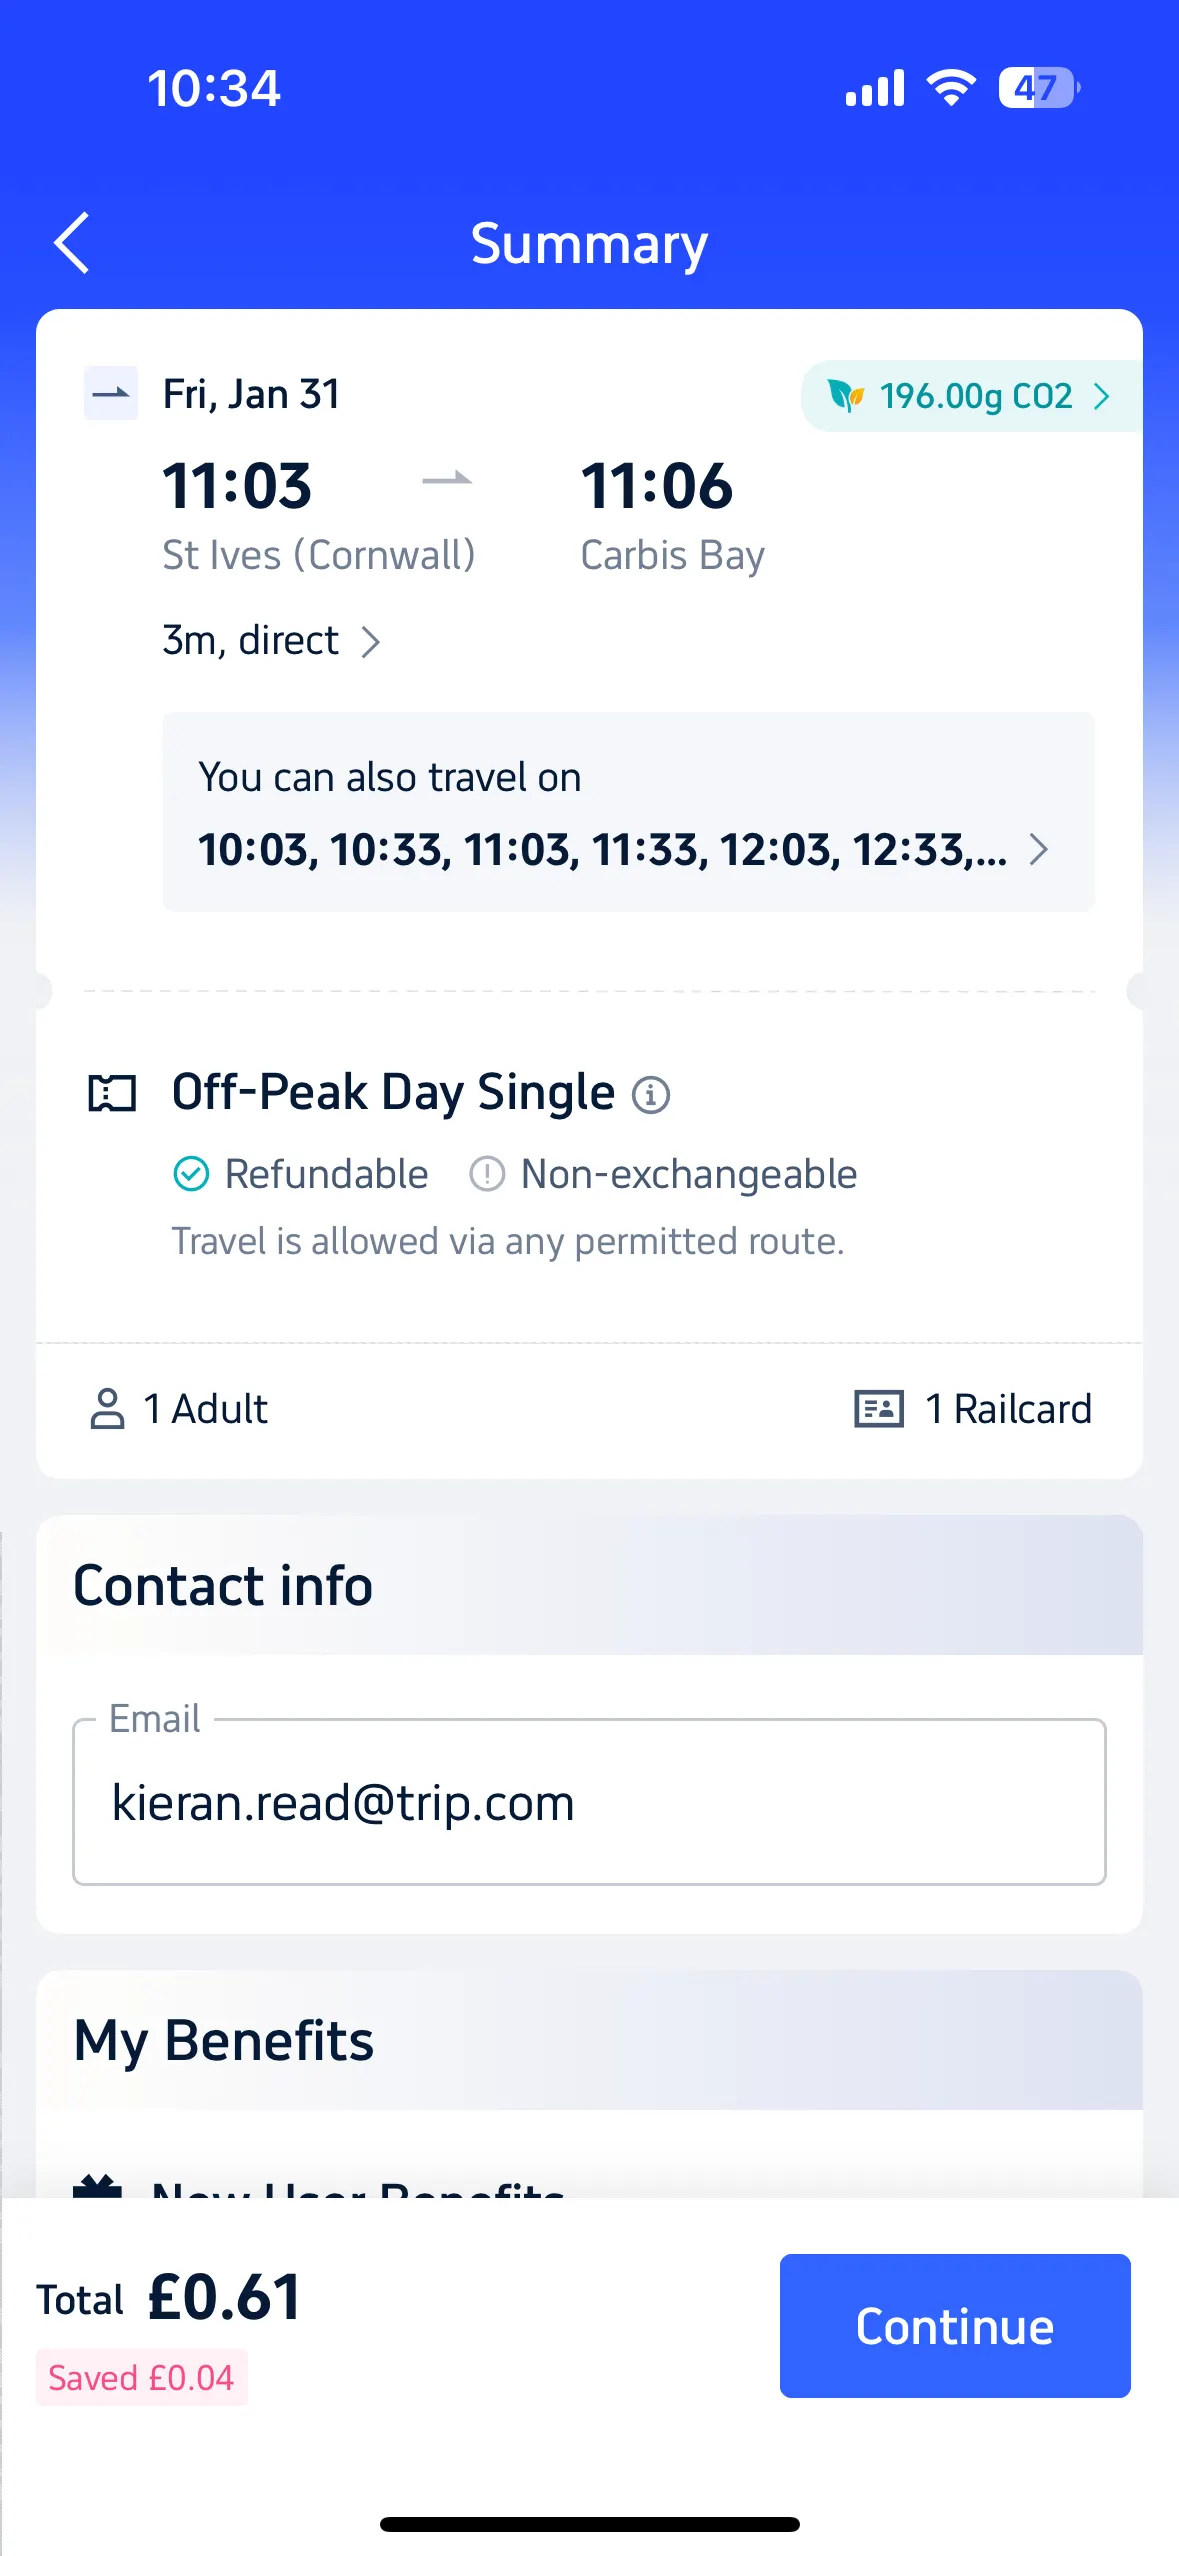
5. Review and confirm your booking

Thoroughly check the journey details to ensure everything is correct.
Make sure your contact information is accurate.
Select “E-Tickets” under the “Ticket Collection” option.
6. Complete your purchase
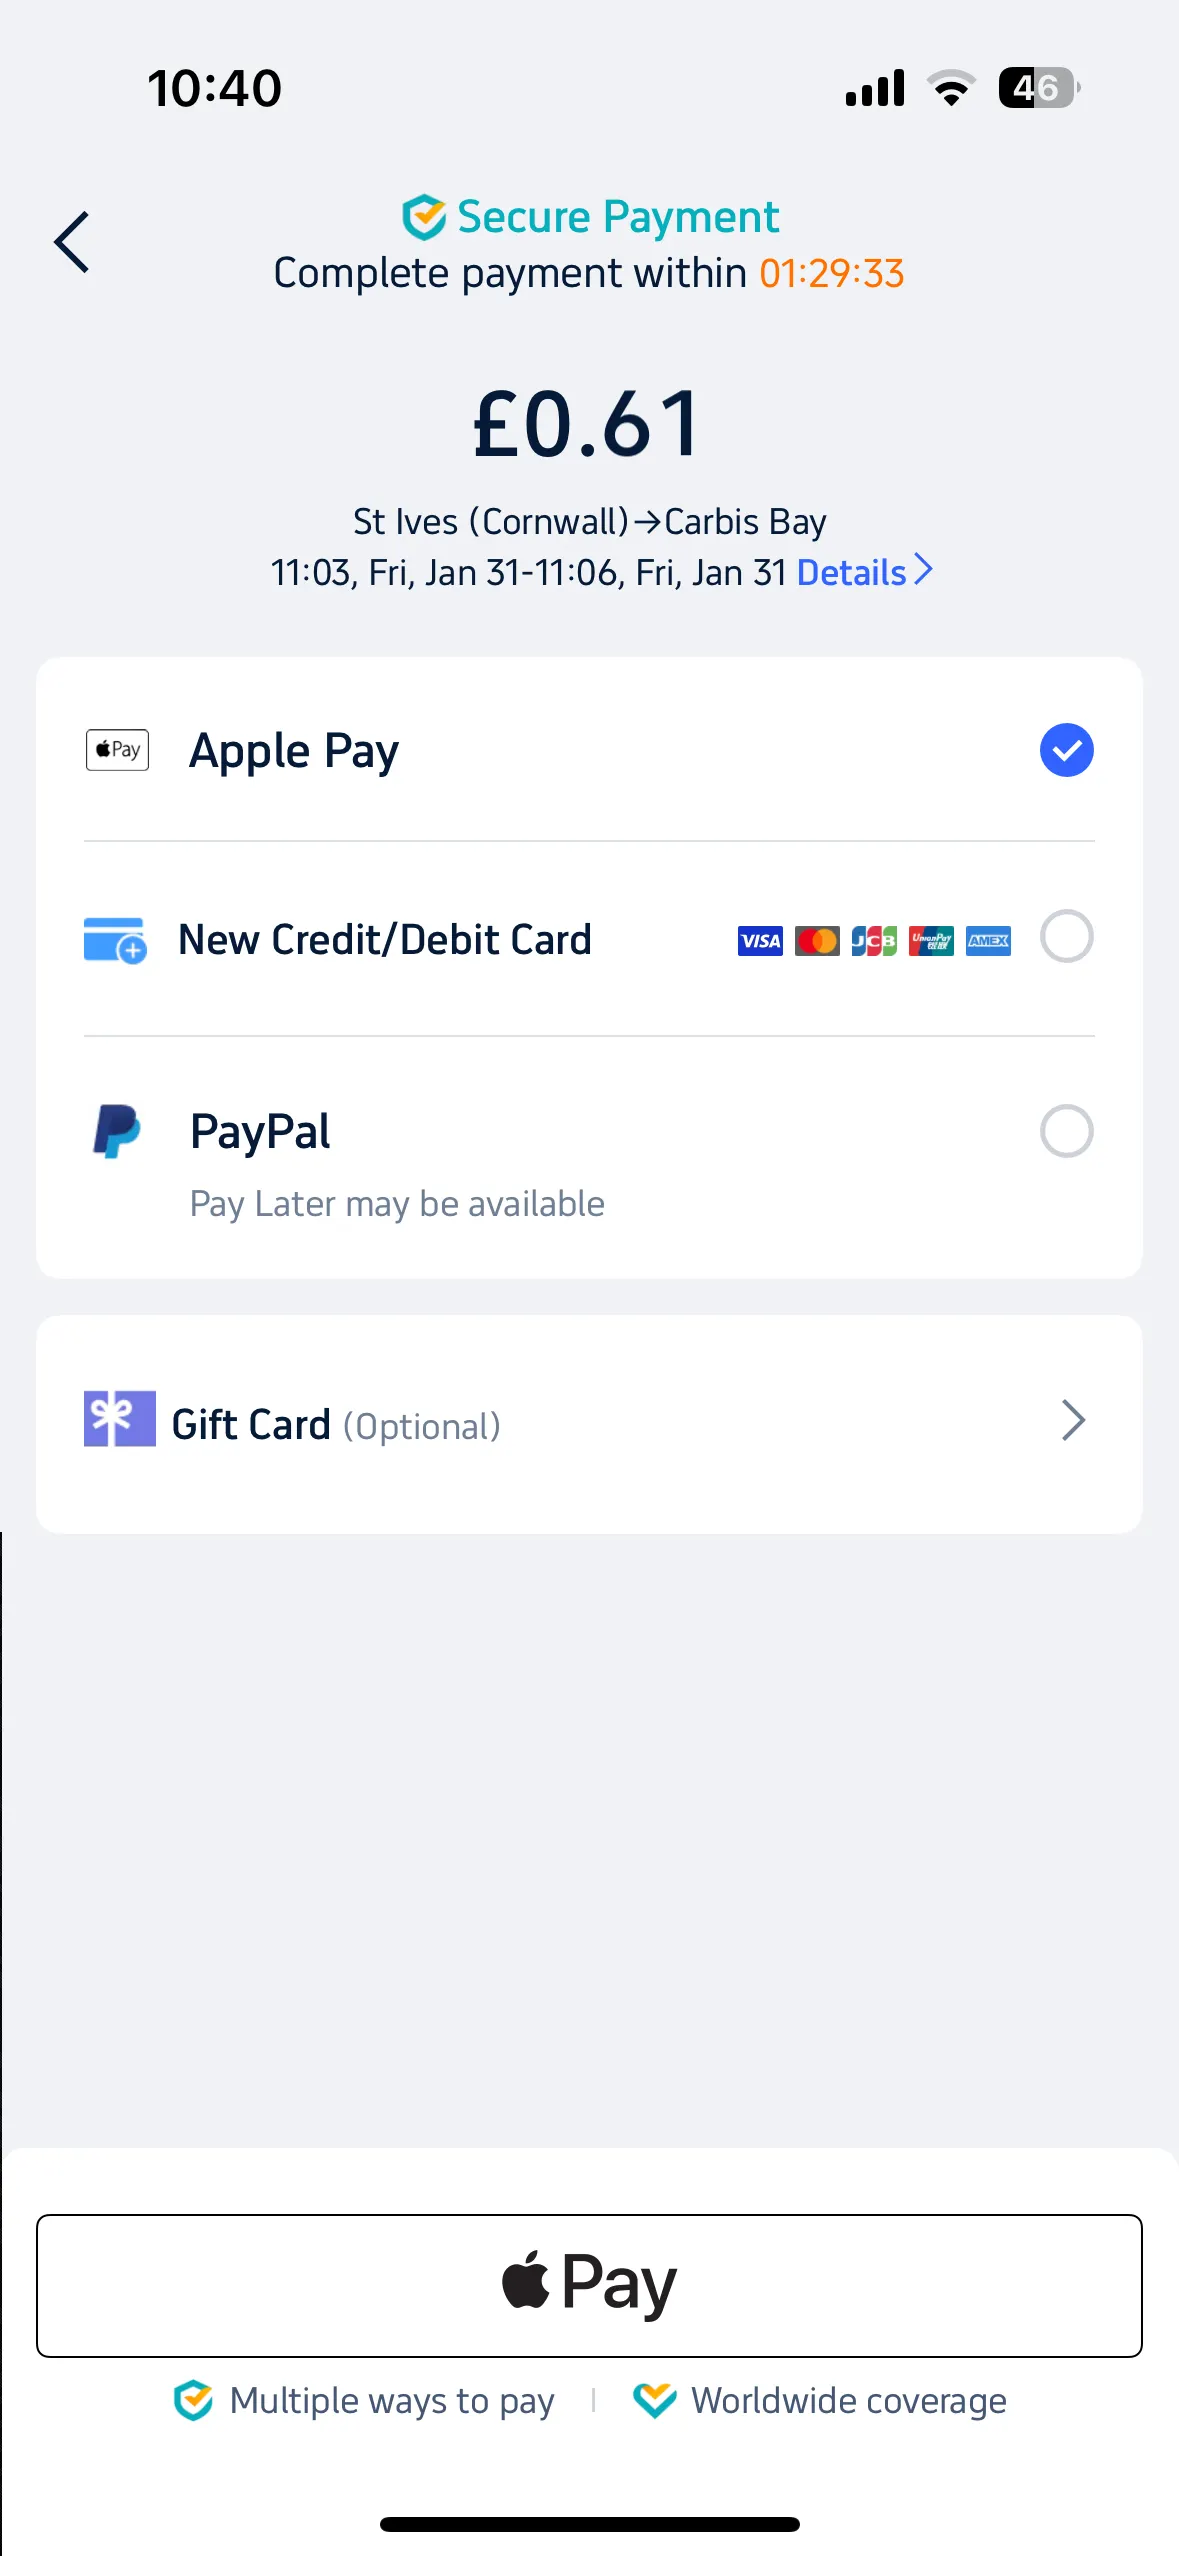
Choose your preferred payment method and complete the transaction. Don’t forget to apply promo codes or redeem Trip Coins for extra savings!
7. Access your eTickets
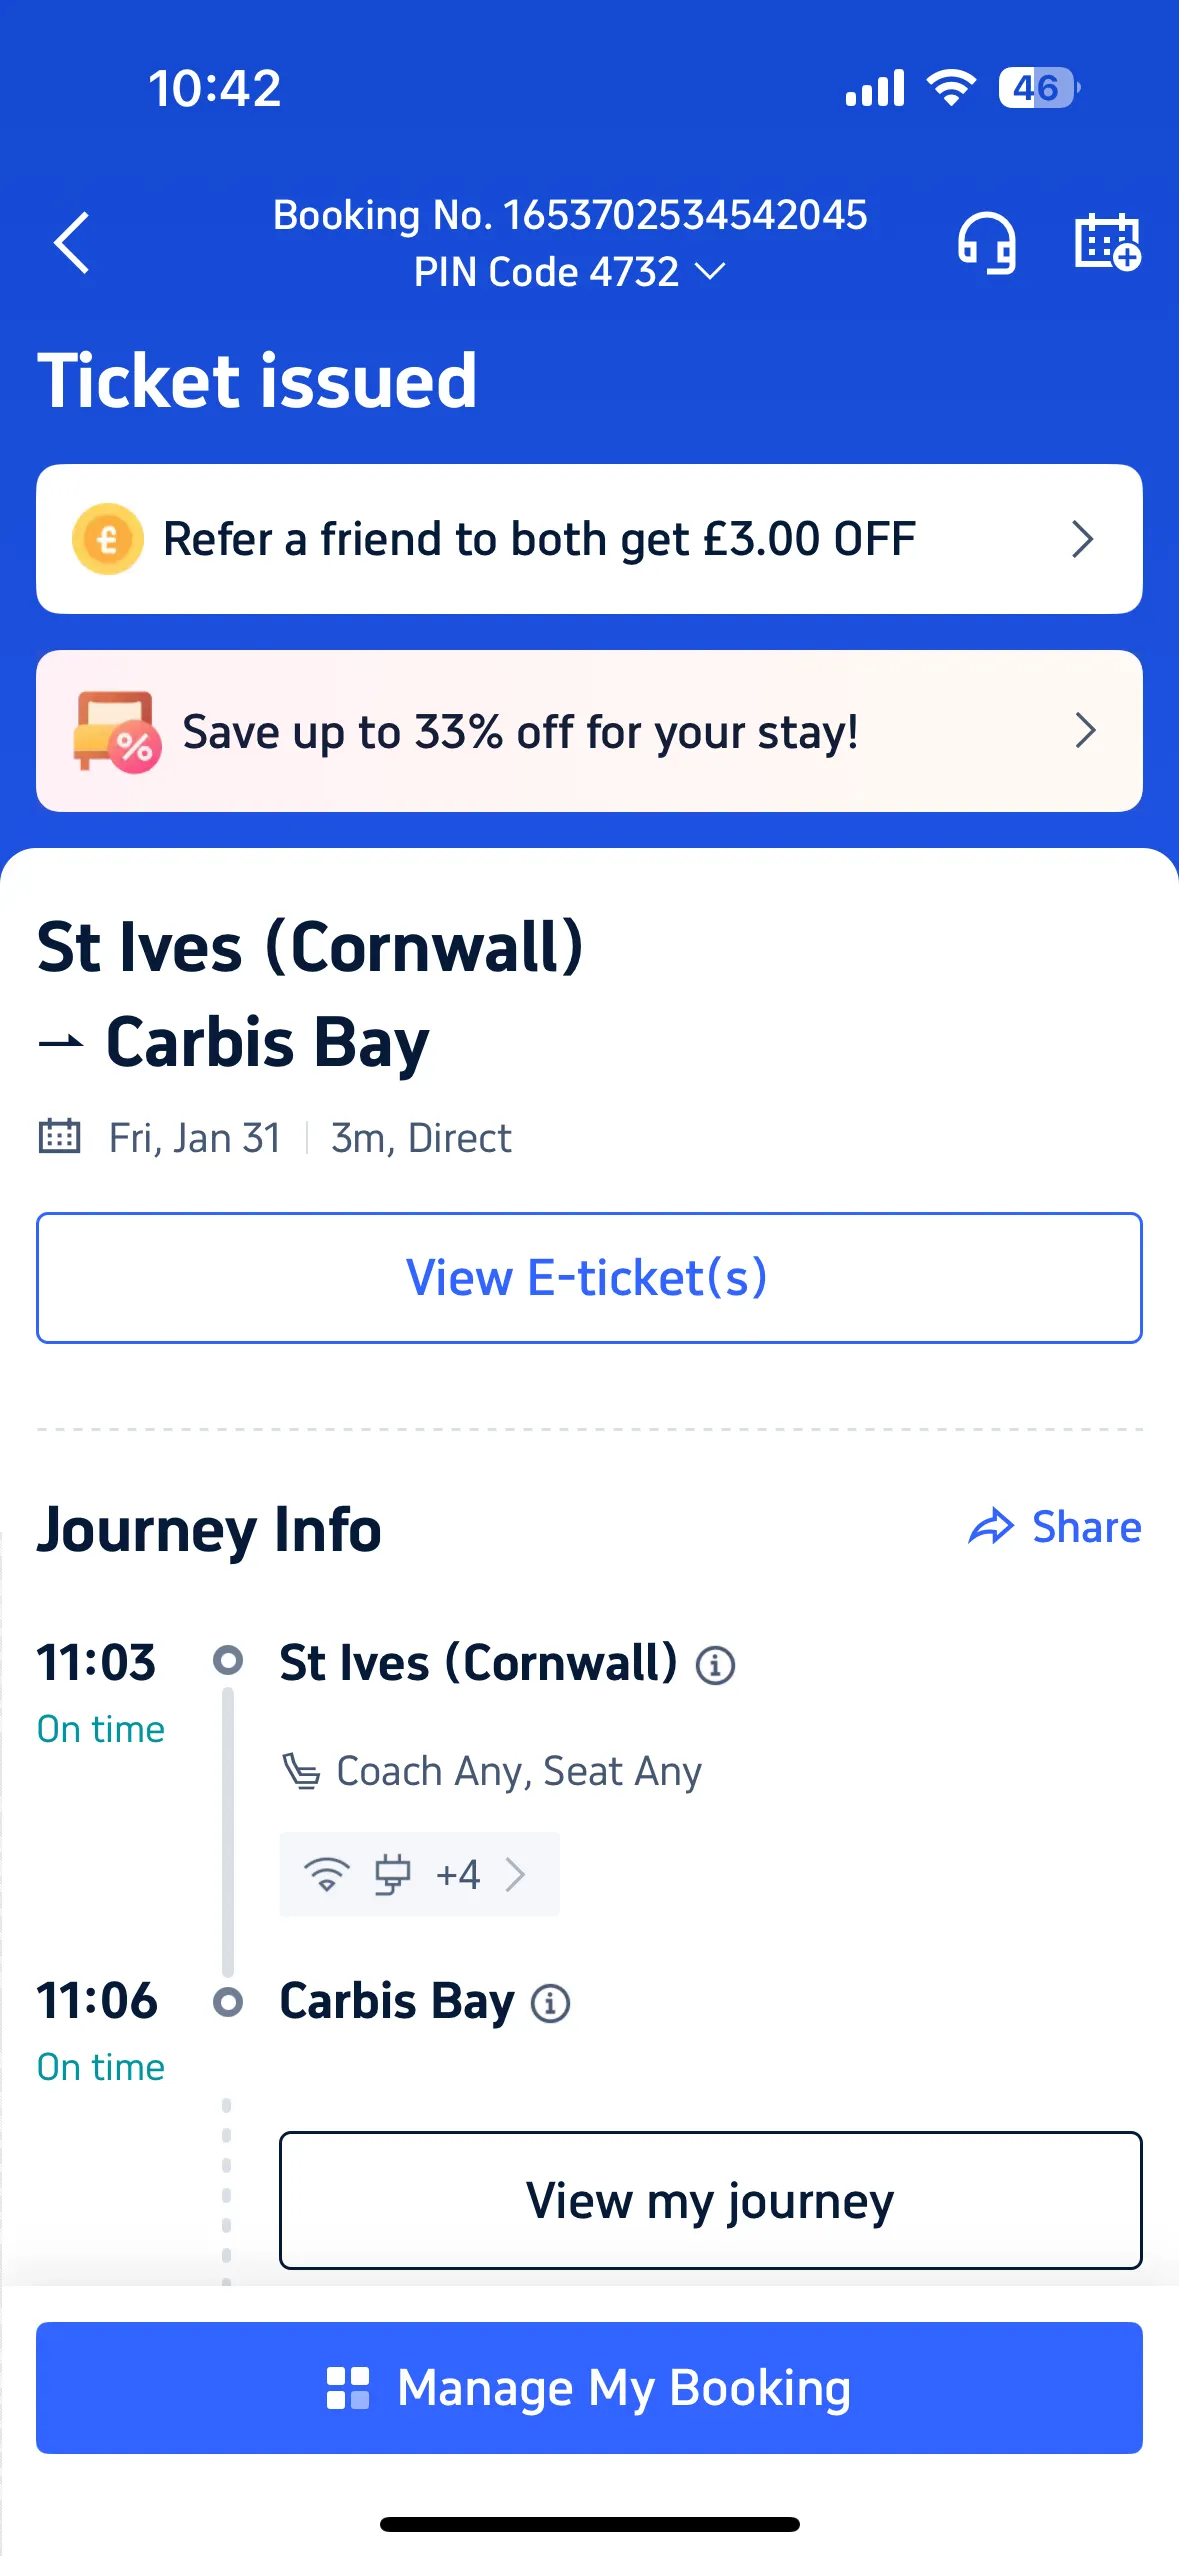
After the purchase is complete, if you are using the Trip.com app, navigate to the “Ticket Details” section in the app. Tap “View E-Ticket(s)” to access your digital tickets. If you purchased the tickets on Desktop, access the ticket via your email on your iPhone to view the ticket and follow the same process.
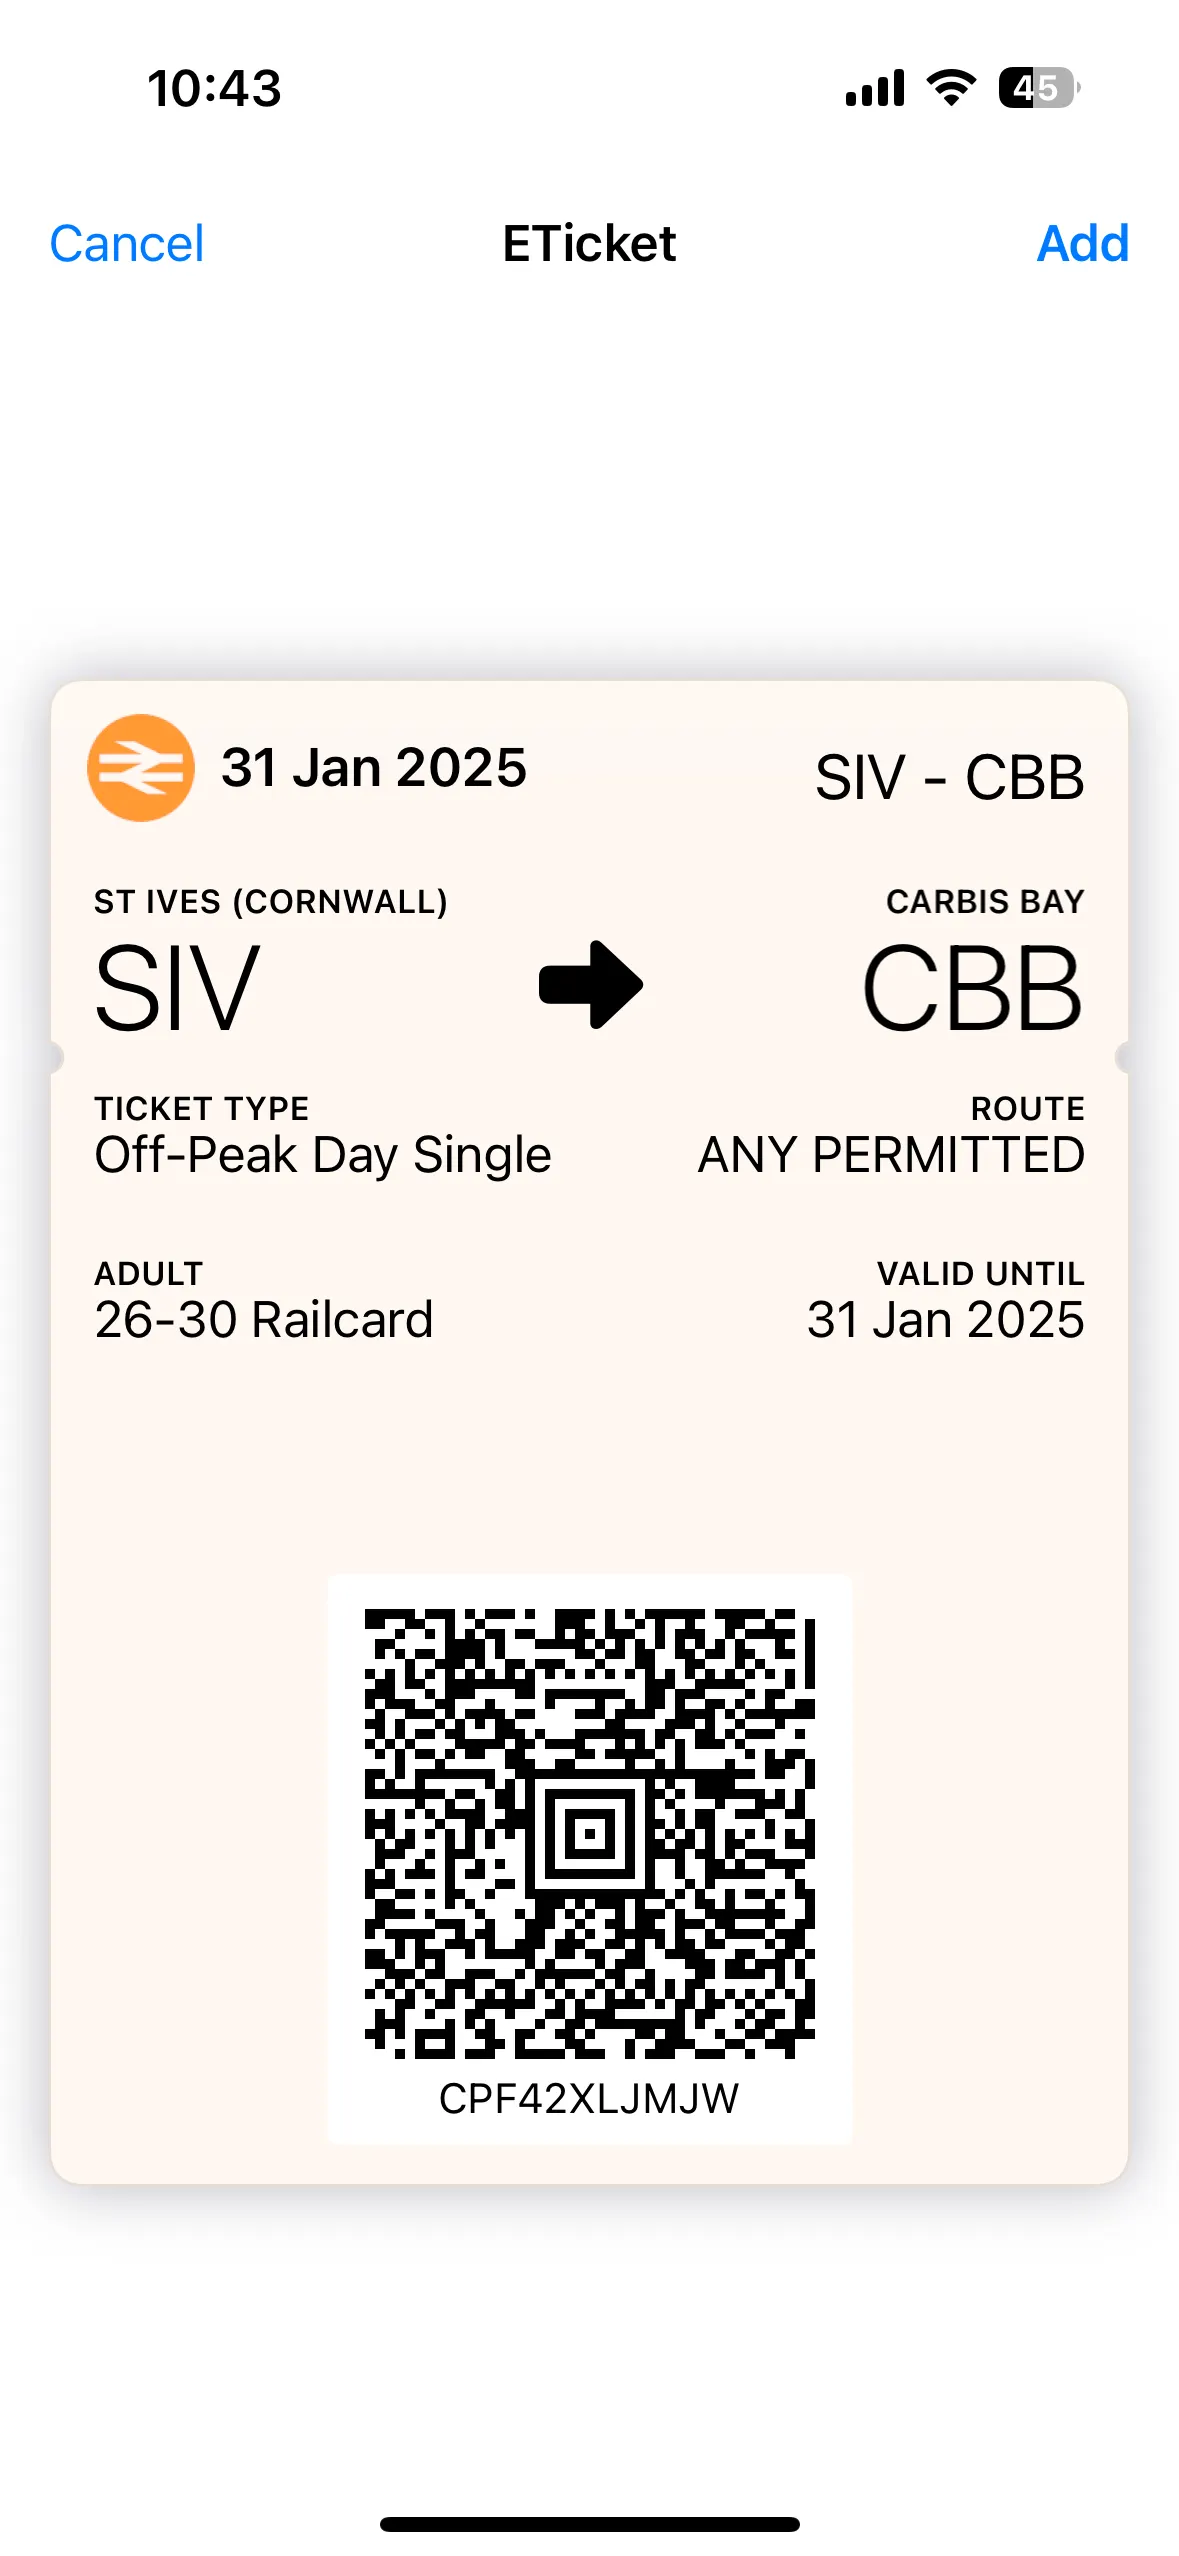
8. Add to Apple Wallet
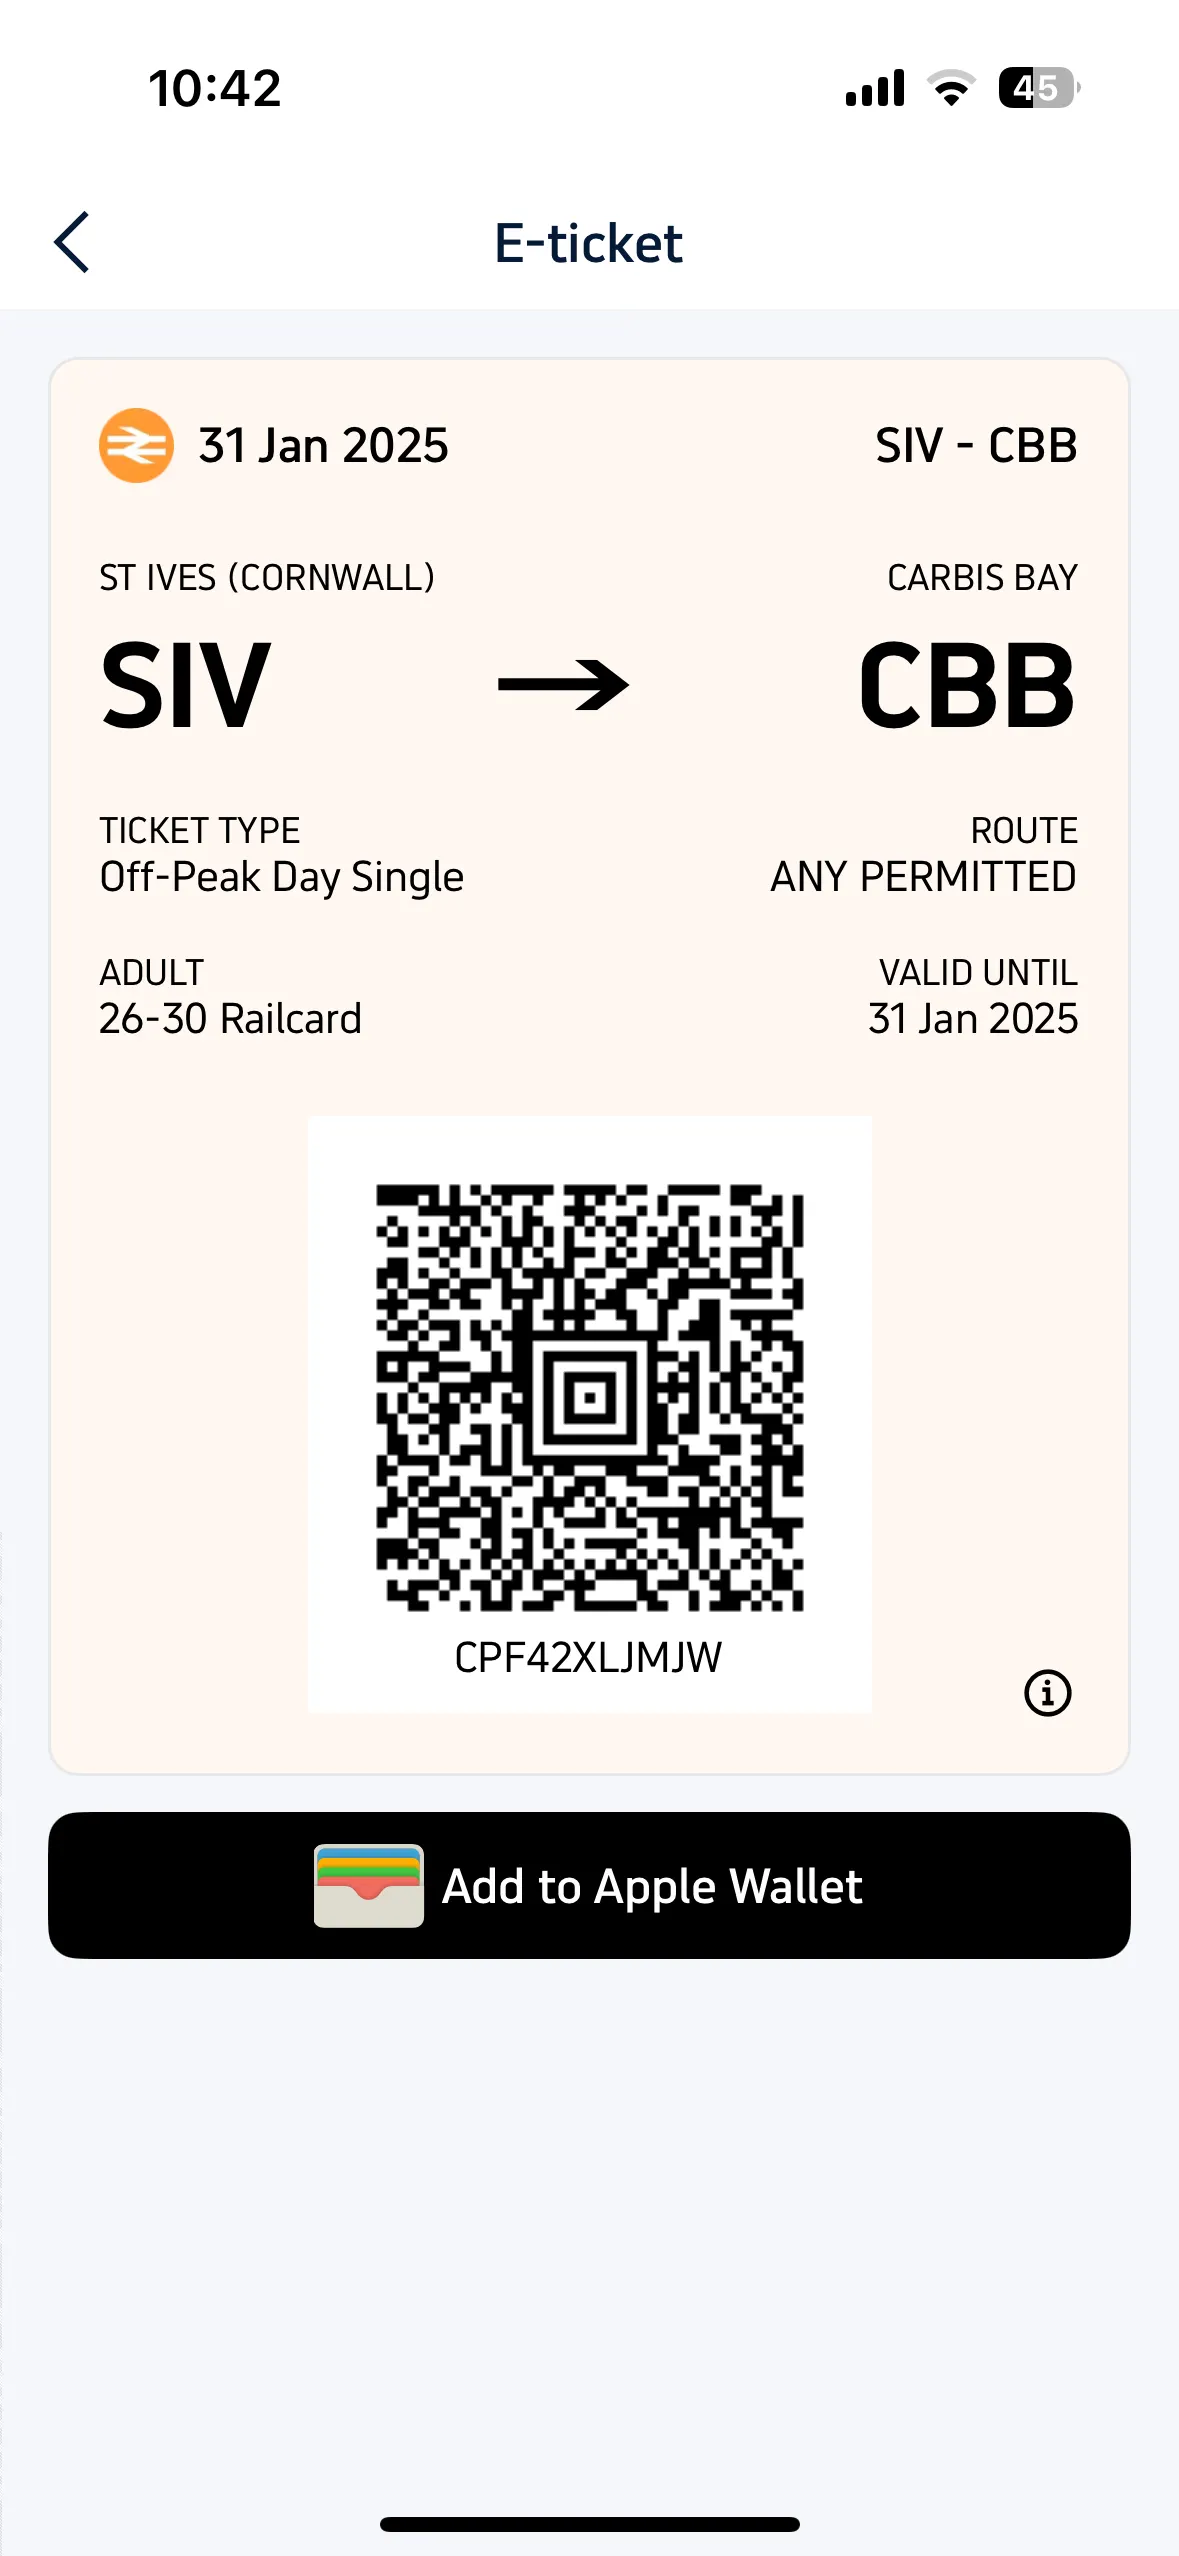
Below the e-ticket, you’ll find an option to “Add to Apple Wallet.” Click this button and then hit “Add.” Your ticket will now be saved in your Apple Wallet for easy access. It should appear like this:
With your train ticket securely stored in your Apple Wallet, you’re ready to travel hassle-free. Trip.com makes booking and managing train travel easier than ever. Try it out for your next journey and experience the convenience firsthand!